Posted January 24, 2024 in Practice Development
Written by Aesthetics Biomedical® Inc.
Taking high-quality clinical before and after photos is essential for documenting the progress and results of medical or cosmetic procedures. These photos serve as a visual record of the patient’s condition and can be a valuable tool for both medical professionals and patients. Here are some tips on how to take the best clinical before and after photos.
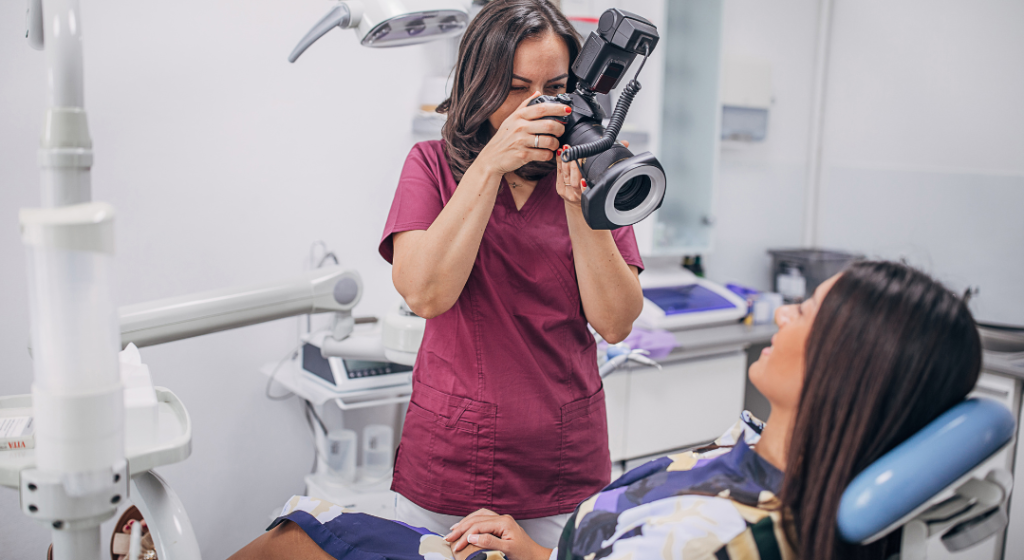
1. Use the Right Camera: Use a high-resolution digital camera or smartphone with a high-quality camera. Ensure the camera lens is clean and in good working condition.
2. Standardized Lighting: Maintain consistent and even lighting in both the before and after photos. Avoid harsh shadows, as they can distort the appearance of the subject. Use natural light when possible or invest in a softbox or diffuser to create even, flattering lighting.
3. Consistent Background: Use a plain, neutral background that won’t distract from the subject. A solid color backdrop or a clean, uncluttered wall works well. Make sure the background is the same for both before and after photos to allow for accurate comparison.
4. Use a Tripod: Steady your camera by using a tripod or stable surface to avoid blurriness in the photos. This is especially important in close-up shots.
5. Consistent Framing: Frame the subject similarly in both before and after photos. Pay attention to angles, distance, and perspective to ensure accurate comparisons.
6. Patient Consent: Obtain written consent from the patient to take and use their photos for medical documentation and educational purposes.
7. Maintain Privacy: Ensure that the patient’s identity is protected by cropping or blurring out any identifying features like tattoos, jewelry, or facial features if necessary.
8. Document Patient Information: Include the patient’s name, date of birth, and the date the photos were taken on a label or in the photo’s metadata.
9. Capture Different Angles: Take photos from multiple angles to provide a comprehensive view of the patient’s condition.
10. Standardize Poses: Standardize the patient’s pose, expression, and facial features as closely as possible in both before and after photos. You can help keep positioning consistent with tools like a foot positioning mat.
11. Maintain Consistency Over Time: If the before and after photos are taken over several sessions or appointments, ensure that the same photographer and camera settings are used for each session.
12. Document Any Special Conditions: If there are any unique or special conditions to consider, such as skin markings, scars, or discolorations, be sure to document them in the before photos and track changes.
13. Review and Retake: Review the photos immediately to ensure they are clear, focused, and accurately represent the subject. If necessary, retake the photos.
14. Store Securely: Store the photos securely, complying with patient privacy and data protection laws, such as HIPAA in the United States.
By following these guidelines, you can ensure that your clinical before and after photos are accurate, consistent, and suitable for medical documentation and evaluation purposes. Always prioritize patient privacy and consent throughout the process.
Do you have outstanding treatment results? Share your Vivace Ultra™ before and after photos with us here! Before and after photos play an important role in the consumer journey when evaluating aesthetic treatments, by submitting your transformational results, you allow us to showcase your success story. Aesthetics Biomedical® Inc. will reach out to you to verify and accept your submission, ensuring it aligns with our qualifications and standards. If you meet the criteria, Aesthetics Biomedical® Inc. will express our gratitude by gifting you ten (10) complimentary Vivace Ultra™ Experience Kits®! READY. SET. GO.